Cross-country flight planning is one of the most rewarding — and most demanding — skills a student pilot will develop on the path to earning a private pilot certificate. The moment you spread a sectional chart across a table, plot a course between two airports dozens of miles apart, and then actually fly that route, everything you have been learning in the cockpit snaps into focus. Navigation, weather decision-making, fuel management, and airspace awareness all converge into a single, real-world mission.
At Savannah Aviation, our experienced flight instructors guide every student through the cross-country planning process with a structured, safety-first methodology. Call (912) 964-1022 to schedule your introductory lesson and start building the skills that will carry you confidently across the sky.
Before diving into the mechanics of planning, it is important to understand exactly what the FAA expects. Under 14 CFR Part 61.109, a student pursuing a private pilot certificate must log a minimum of five hours of solo cross-country time. Within that requirement, the regulations specify at least one solo cross-country flight of 150 nautical miles total distance, with full-stop landings at a minimum of three points and with at least one leg that is more than 50 nautical miles from the departure airport.
These requirements are not arbitrary. Long cross-country flights force you to plan precisely, manage time and fuel over extended periods, and navigate through varying airspace environments — all skills that define a competent, safe pilot. Before any solo cross-country flight is authorized, your flight instructor must review and sign off on your planning, a step that reinforces the discipline of thorough preflight preparation.
Before you can fly a solo cross-country, you will need specific logbook endorsements from your Certified Flight Instructor (CFI). These endorsements certify that your instructor has reviewed your planning for the specific route and conditions and that you are prepared to execute the flight safely. Never treat the endorsement process as a formality — it is a structured safety check that protects you.
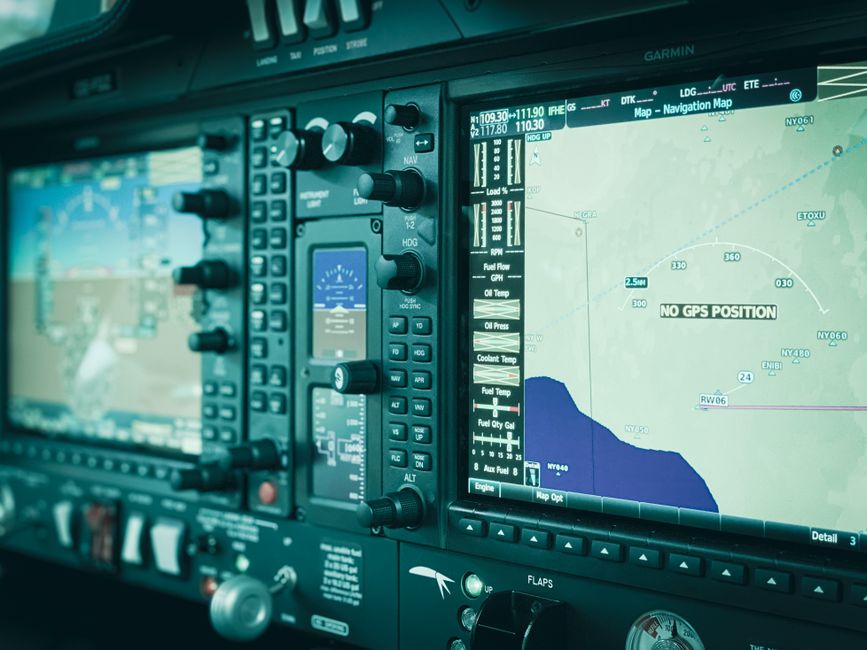
Cross-country flight planning starts with the sectional aeronautical chart. Published by the FAA and updated every six months, sectional charts are the primary navigation tool for VFR pilots. Every symbol, color, and line on the chart carries specific meaning, and learning to read them fluently is a non-negotiable skill.
Here are the key elements you will use during cross-country planning:
When you plot your course, draw a straight line between your departure and destination airports, then study everything that line crosses. Identify checkpoints — prominent landmarks like highways, rivers, towns, and lakes — that you will use to confirm your position in flight.
No aspect of cross-country flight planning carries more weight than weather evaluation. Unlike a local training flight around the pattern, a cross-country route may pass through several different weather environments. A clear sky over your departure airport tells you nothing about conditions 80 miles away.
A thorough preflight weather briefing should include:
As a student pilot, your personal weather minimums should be significantly more conservative than the legal VFR minimums. If there is any doubt about conditions, the correct answer is always to delay or cancel the flight. The discipline to make that call is a hallmark of sound aeronautical decision-making.
Running out of fuel in flight is an entirely preventable emergency — and yet it remains a contributing factor in a sobering number of general aviation accidents each year. Rigorous fuel planning is not optional; it is a fundamental act of airmanship.
To calculate your fuel requirements accurately, work through the following steps:
Always physically verify the fuel quantity in each tank during your preflight inspection. Fuel gauges in light training aircraft are notoriously imprecise — your eyes and a calibrated fuel stick are your most reliable instruments for knowing exactly how much fuel you have on board.
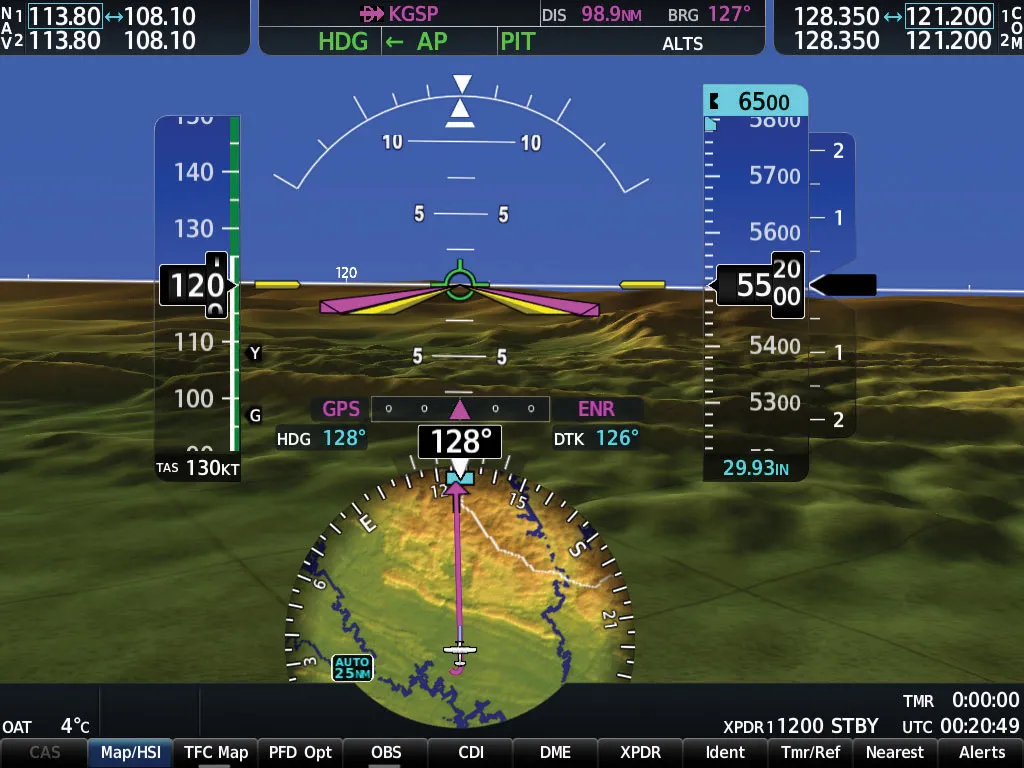
The navigation log — sometimes called a nav log — is the document that ties your entire cross-country plan together. It records every checkpoint along your route, the magnetic course between them, the distance, your estimated groundspeed, the estimated time en route, and the cumulative fuel burn. When you are airborne, you will update the nav log with your actual times over each checkpoint, which allows you to cross-check whether you are on course, ahead of schedule, or behind it.
A well-constructed nav log serves two critical functions. First, it forces you to think through every segment of the flight on the ground, where mistakes are easy to correct. Second, it gives you a reference document in the cockpit that reduces workload at a time when you need to be focused on flying the aircraft.
Your flight instructor will review your nav log before endorsing your solo cross-country. Treat that review as an opportunity to catch errors and strengthen your planning process, not as an administrative hurdle.
While filing a VFR flight plan is not legally required for most cross-country flights, it is a best practice that every student pilot should adopt from the very beginning. A VFR flight plan filed with Flight Service puts search and rescue resources on alert if you fail to close the plan within 30 minutes of your estimated time of arrival. In a genuine emergency, that notification can save your life.
Filing is simple and takes only a few minutes through 1800wxbrief.com or via phone. Include your aircraft tail number, equipment type, departure airport, planned route, cruising altitude, estimated time en route, fuel on board, and the number of people on board. Once you land, always remember to close your flight plan — failure to do so will trigger a search that wastes valuable emergency resources and potentially results in a phone call to your flight school.
At Savannah Aviation, we teach the habit of filing and closing flight plans from the first dual cross-country lesson. It is one of dozens of professional habits our instructors instill in every student from day one. Visit our flight school page to learn more about our training programs, or contact us to speak with an instructor about starting your training today.
Request a personalized discovery flight and experience how professional instruction and careful preparation make learning to fly exciting and rewarding. Our team guides every step to help you build skills safely and confidently.
.webp)


.webp)