The Landing Flare: Why Timing Matters and How to Fix Common Mistakes

July 9, 2026
5 min read

Developing a consistent, well-timed landing flare is one of the most challenging and rewarding milestones in a student pilot's training. Of all the skills required to earn a private pilot certificate, the landing is often what students spend the most time perfecting — and the flare is the single most critical moment within the landing sequence. Execute it correctly and the aircraft settles gently onto the runway with barely a whisper. Get the timing wrong and you may find yourself ballooning, bouncing, or touching down harder than intended.

At Savannah Aviation, our experienced flight instructors dedicate focused attention to landing technique from the very first dual instructional flights, because a pilot who can land smoothly and consistently in a variety of conditions is a pilot who is truly safe and in command. Call (912) 964-1022 to schedule your introductory lesson and start building the precise aircraft control skills that define competent, confident aviators.

Many student pilots approach landings with a mixture of excitement and anxiety. The final approach feels manageable — airspeed is controlled, the glidepath is established — but the last few seconds before touchdown introduce a rapidly changing environment that demands precise judgment and smooth control inputs. This guide walks you through exactly what the landing flare is, why it matters, how to execute it correctly, the most common errors students make, and how to build the consistency that will carry you confidently through your checkride and beyond.

What Is the Landing Flare and Why Does It Matter?

The landing flare — sometimes called the roundout — is the transition phase between the final approach descent and the actual touchdown. As the aircraft descends on final approach, it is pointed at the runway at a downward angle. If you were to continue that trajectory without any correction, the nose gear or propeller would contact the runway first, with potentially damaging results. The flare is the gradual back-pressure on the yoke or stick that arrests the descent rate, raises the nose to a landing attitude, and allows the aircraft to slow and settle onto the main gear.

The flare serves two essential purposes simultaneously. First, it reduces the aircraft's sink rate so that touchdown is gentle rather than a crash onto the pavement. Second, it places the aircraft in the correct nose-high attitude so that the main gear touches down first — the proper technique in a tricycle-gear aircraft — while simultaneously bleeding airspeed so that touchdown occurs as close to the stall speed as safely possible. A well-executed flare is a coordinated blend of timing, visual judgment, and smooth control input.

The Role of Ground Effect

One aerodynamic factor that directly influences the flare is ground effect. As the aircraft descends to within roughly one wingspan of the runway surface, the wing's induced drag decreases and lift becomes more efficient. This phenomenon — ground effect — causes the aircraft to resist settling and can make it feel as though the airplane wants to "float" down the runway rather than touch down. Student pilots who are unfamiliar with ground effect are often surprised when the airplane refuses to land right where they expected. Understanding ground effect helps you anticipate the float and manage it with gradual, patient control inputs rather than forcing the aircraft onto the runway prematurely.

How to Execute the Landing Flare Correctly

A correct landing flare begins at the right height above the runway — typically somewhere between 10 and 20 feet above the surface, depending on the aircraft and its approach speed. The exact height will vary, but the principle is consistent: initiate the flare smoothly and progressively as the runway threshold passes beneath you and the runway surface rushes toward the aircraft.

Here is a step-by-step breakdown of what a correct flare looks like in a typical single-engine trainer:

  1. Stabilize the approach: Arrive over the runway threshold at the correct airspeed — typically 1.3 times the stall speed in the landing configuration (Vso) — with a consistent glidepath established. A stabilized approach is the foundation of a good landing.
  2. Begin the roundout: As the main landing gear reaches approximately 10–20 feet above the runway surface, begin applying smooth, gradual back-pressure to arrest the descent. Do not yank the yoke — the input should be fluid and continuous.
  3. Transition your sight picture: Shift your visual focus from the point of intended landing to the far end of the runway. This is one of the most important adjustments a student pilot can make. Your peripheral vision will naturally sense the runway rising toward you, allowing your hands to respond instinctively.
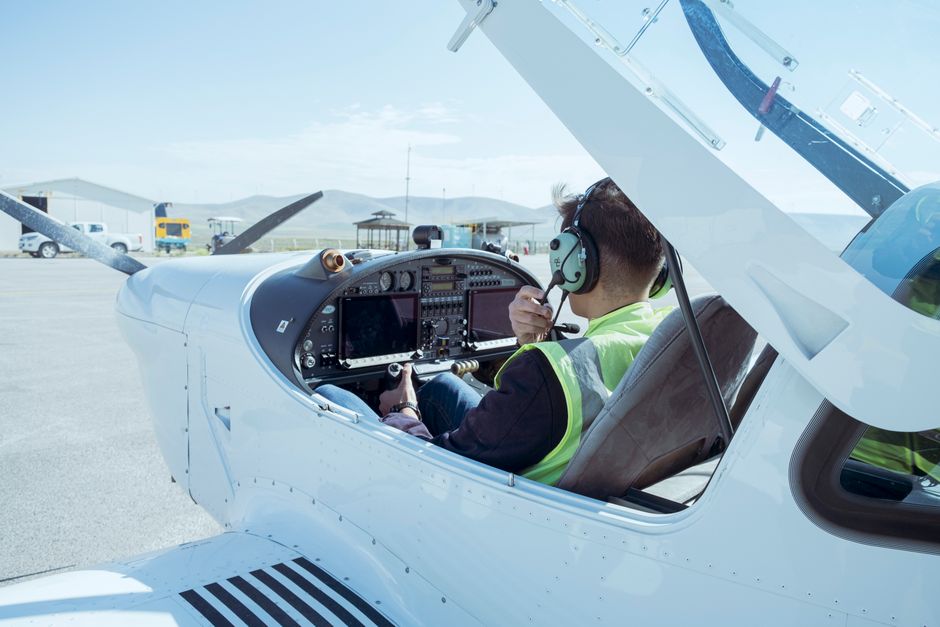
  4. Hold the nose up as the aircraft decelerates: As the aircraft slows through the flare, continue applying gentle back-pressure to maintain the nose-high attitude and prevent the nosewheel from touching down first. The goal is to hold the aircraft off the runway as it loses flying speed.
  5. Allow the mains to touch down: When the aircraft can no longer fly — or when the stall warning horn sounds — the main gear will settle onto the runway. At this point, hold back-pressure to keep the nosewheel light and maintain directional control with the rudder pedals.

Common Landing Flare Mistakes Student Pilots Make

Even with clear instruction, the landing flare is an exercise in judgment that takes time and repetition to develop. These are the errors instructors correct most frequently:

  • Flaring too high: Initiating the flare too far above the runway causes the aircraft to balloon — the nose pitches up, airspeed bleeds away rapidly, and the aircraft may stall several feet above the surface and drop hard onto the runway. This is one of the most common and potentially damaging errors.
  • Flaring too low: Waiting too long to begin the flare results in the aircraft still descending steeply when it meets the pavement. The result is a firm or hard landing, increased stress on the landing gear, and a loss of control risk.
  • Looking too close: Fixating on the runway surface directly in front of the aircraft is one of the most widespread habits among new student pilots. When your eyes are too close, your depth perception is poor and your control inputs become abrupt and poorly timed. Moving your gaze to the far end of the runway is a transformative correction for most students.
  • Pushing forward during the float: When the aircraft floats in ground effect and a student becomes impatient, the instinct is sometimes to push forward and force the aircraft down. This risks a nosewheel-first landing, which places dangerous stress on the nose gear. The correct response to an extended float is to either hold the attitude and wait for touchdown or execute a go-around.
  • Inconsistent airspeed on final: Arriving over the threshold too fast extends the float and makes the flare harder to time. Arriving too slow reduces your margin above the stall during the flare. A stabilized approach at the correct speed is the single best preparation for a good flare.

Building Consistency Through Pattern Work and Deliberate Practice

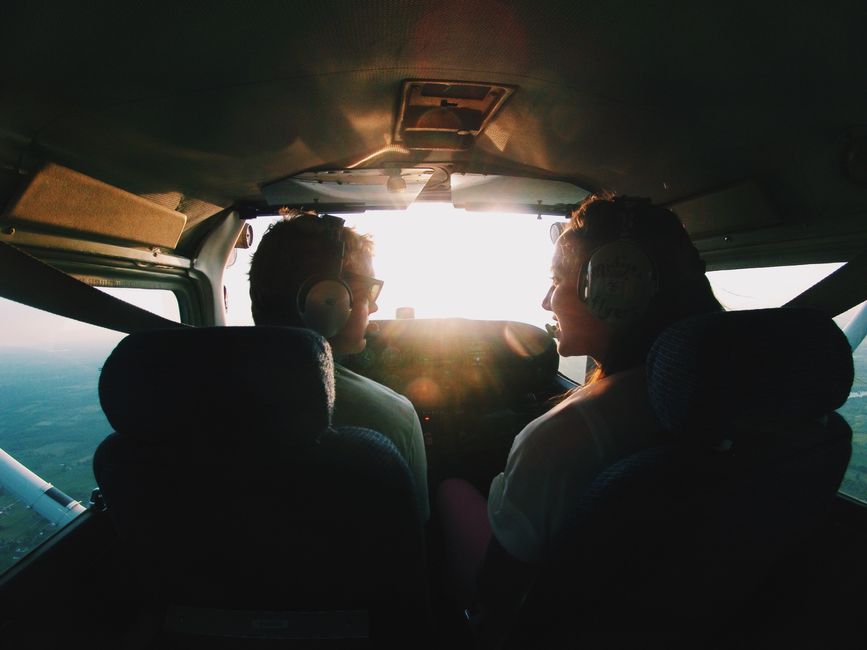
The flare is not a skill learned in a single lesson. It is developed through repetition — through dedicated pattern work where you fly circuit after circuit, landing after landing, refining your sight picture, your timing, and your control sensitivity with each pass. Most flight instructors use the traffic pattern as a laboratory precisely because it offers the highest concentration of approaches and landings per hour of flight time.

Deliberate practice means more than simply doing landings. It means identifying a specific element of the flare to focus on each pattern — timing, sight picture, back-pressure rate, or crosswind correction — and evaluating each landing against that specific goal. Briefing with your instructor before pattern work and debriefing each landing immediately after will accelerate your progress far more than passive repetition alone.

The Go-Around: Your Best Tool for a Bad Flare

Every student pilot must internalize one rule about landings before they begin serious pattern work: if a landing is not going well, go around. A go-around is not a failure. It is the correct, professional decision when the approach or flare is not stabilized and safe. A hard landing, a ballooned flare that has gone wrong, an unexpected gust, a runway incursion — any of these are valid reasons to apply full power, establish a positive climb attitude, and try again. The pilots who develop the discipline to execute go-arounds without hesitation are the pilots who remain safe throughout their careers. At Savannah Aviation's flight school, our instructors reinforce go-around discipline from the very first landing lesson.

What the FAA Airman Certification Standards Expect

On your private pilot checkride, the FAA Designated Pilot Examiner will evaluate your landings against the Airman Certification Standards (ACS). For a normal landing, the ACS requires that you touch down within 400 feet of a specified point, with proper technique, at or below the maximum allowable airspeed, and with directional control maintained throughout the rollout. The examiner is specifically watching how you manage the flare — whether your roundout is smooth and timely, whether your touchdown is on the main gear first, and whether you maintain positive control throughout.

Preparing for the checkride means not just landing acceptably, but landing with deliberate, repeatable technique. Your instructor at Savannah Aviation will sign you off for your practical test only when your landings consistently meet ACS standards across a variety of conditions — including normal, soft-field, and short-field configurations. Building that consistency is a process, and it begins with understanding and mastering the flare.

Tips for Accelerating Your Landing Progress

Beyond repetition in the aircraft, there are strategies that can meaningfully accelerate your landing development:

  • Study video footage: Watching cockpit-view landing videos from similar aircraft helps you build a mental model of what the correct sight picture and timing look like before you ever climb into the cockpit.
  • Use a simulator or BATD: Many flight schools have Basic Aviation Training Devices that allow you to practice the visual and control aspects of the flare without aircraft rental costs. While nothing replaces the real aircraft, simulation can help you build muscle memory for the control inputs.
  • Brief every landing before the approach: Before turning final, verbally review your aim point, target airspeed, and the specific element of the flare you are focused on. This primes your attention and reduces the cognitive load in the critical seconds of the flare itself.
  • Ask for honest instructor feedback: After each landing, ask your instructor to grade the specific phase where you felt uncertain. Targeted feedback on timing, sight picture, or control pressure is far more useful than a general "that was pretty good."

Mastering the landing flare takes patience, deliberate practice, and excellent instruction. At Savannah Aviation, our flight instructors are committed to giving every student the focused, personalized attention that turns tentative approaches into confident, smooth-touchdown landings. Call (912) 964-1022 today to schedule your next lesson and make the landing flare your strongest skill in the cockpit.

Start Your Aviation Journey with Savannah Aviation

Request a personalized discovery flight and experience how professional instruction and careful preparation make learning to fly exciting and rewarding. Our team guides every step to help you build skills safely and confidently.

Frequently Asked Questions

At what height above the runway should I begin the landing flare?
In most single-engine trainers, the flare begins when the main landing gear is roughly 10 to 20 feet above the runway surface. The exact height varies by aircraft type, approach speed, and conditions, so your flight instructor will help you develop a feel for the correct timing specific to the aircraft you are flying. A general rule is to begin smooth, gradual back-pressure as the runway threshold passes beneath you and the surface rushes upward.
Why does my aircraft balloon during the flare?
Ballooning occurs when the flare is initiated too high above the runway or when back-pressure is applied too aggressively. The nose pitches up sharply, airspeed bleeds away quickly, and the aircraft climbs several feet before settling — often resulting in a hard touchdown or a stall above the surface. The correction is to apply back-pressure more gradually and to initiate the flare at the correct height. If a balloon occurs and the aircraft climbs more than a few feet, the safest response is to execute a go-around rather than attempt to force the aircraft down.
How does ground effect influence the landing flare?
Ground effect reduces induced drag as the aircraft descends to within approximately one wingspan of the runway surface, making the wing more efficient and causing the aircraft to resist settling. This produces the familiar float — the sensation that the airplane wants to continue flying rather than land. Understanding ground effect helps you anticipate the float, remain patient with your control inputs, and avoid forcing the aircraft onto the runway prematurely. A slight reduction in power can help dissipate the float if it extends too long.
Where should I be looking during the landing flare?
You should shift your visual focus from the point of intended landing on the runway to the far end of the runway as you begin the flare. Looking too close — fixating on the pavement directly in front of the aircraft — is one of the most common errors student pilots make, and it leads to poor depth perception and jerky control inputs. Looking toward the far end allows your peripheral vision to sense the runway rising toward you naturally, giving your hands the reference they need to time and moderate the back-pressure correctly.
When is a go-around the right decision during the landing sequence?
A go-around is the right decision any time the approach or flare is not going safely — this includes an unstabilized approach, a ballooned flare that has climbed well above the runway, an unexpected gust that disrupts the aircraft's attitude, an obstacle or aircraft on the runway, or any situation in which you are uncertain about the outcome of continuing. A go-around is never a failure; it is the correct, professional decision. Apply full power, establish a positive climb attitude, retract flaps in stages per the POH, and fly the pattern again. Students who develop go-around discipline early in training become significantly safer pilots.