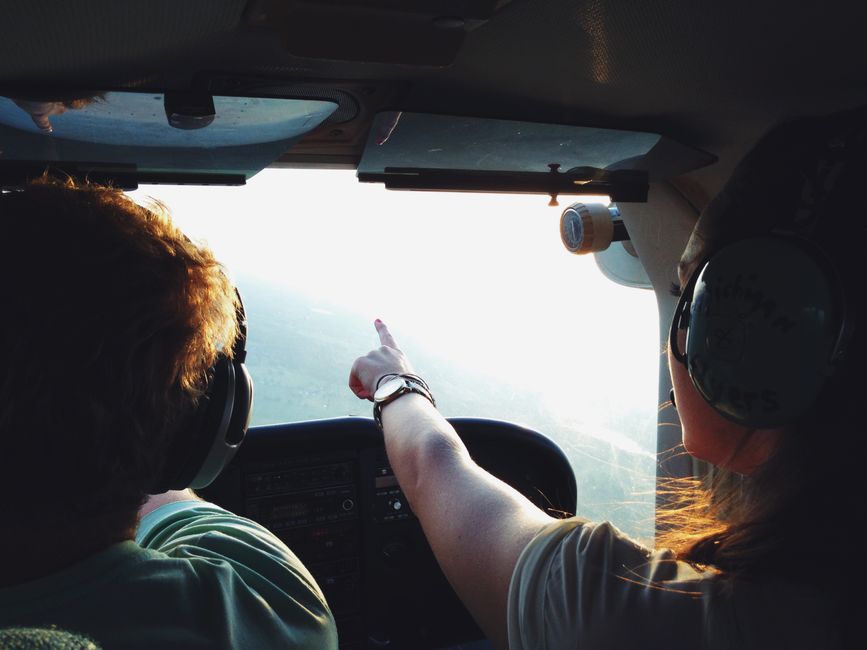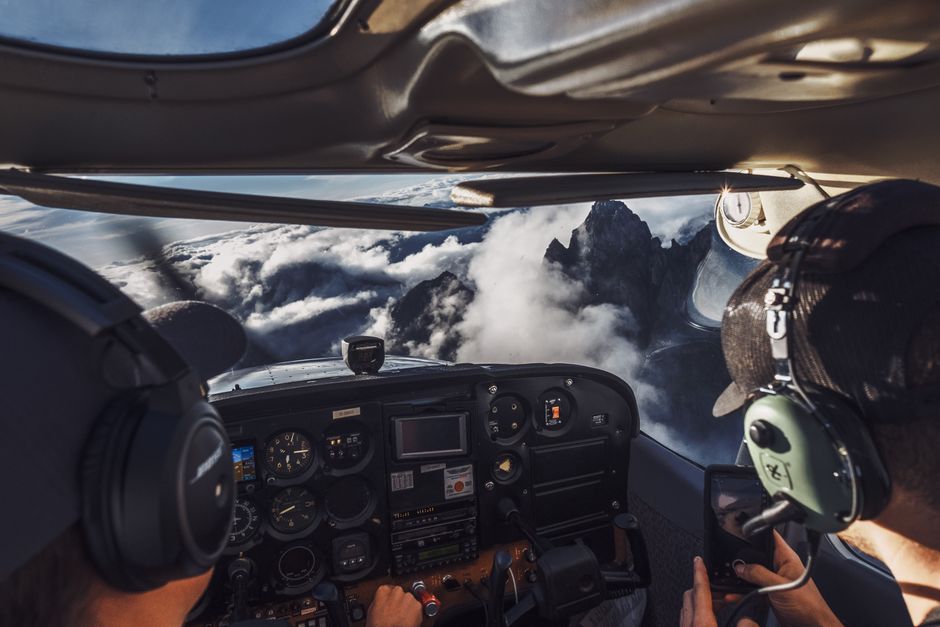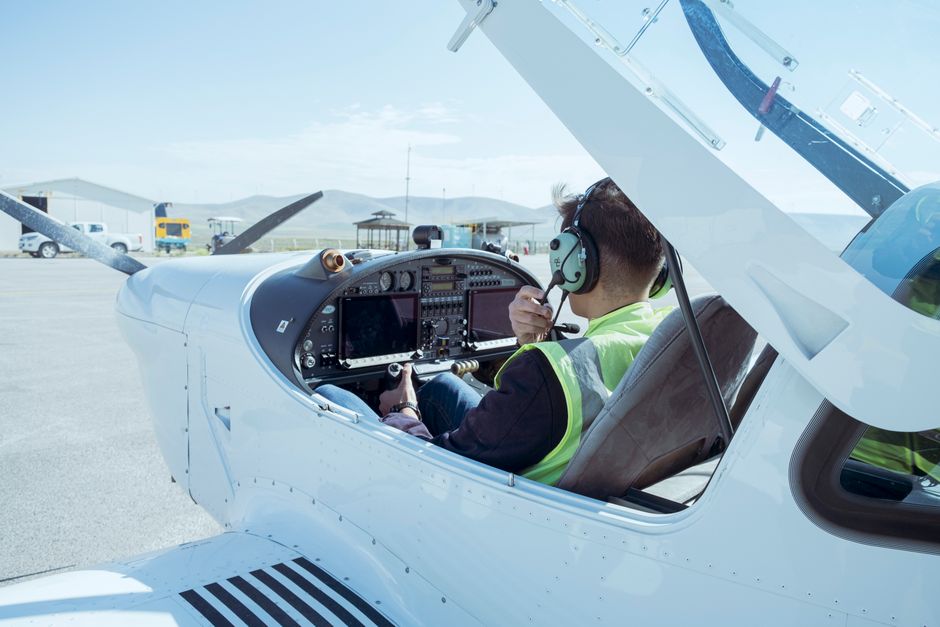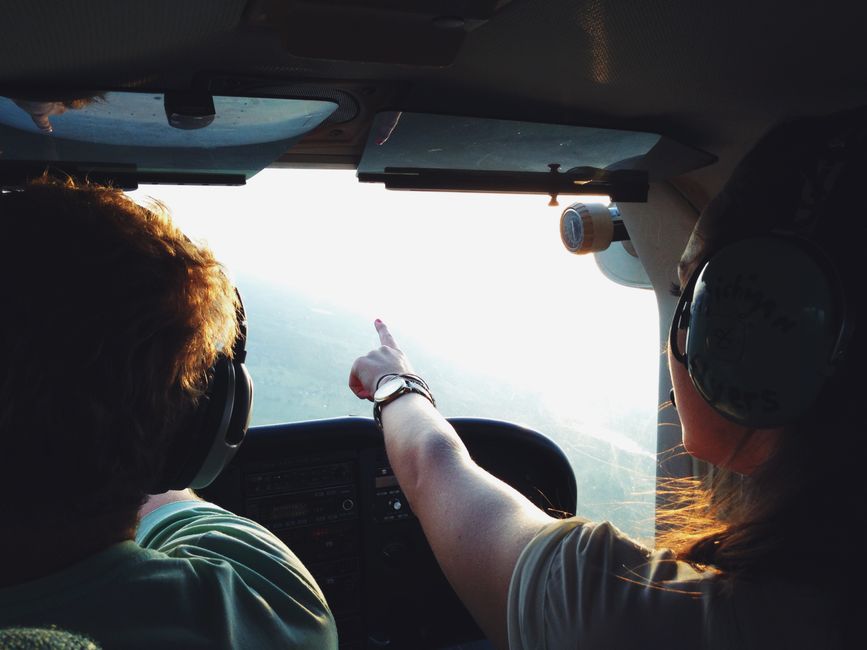
Your first solo cross-country flight is one of the most exhilarating and meaningful milestones in all of flight training. For the first time, you will take off without an instructor in the right seat, navigate to an airport you have never landed at alone, and bring yourself safely home — all under your own judgment and skill. It is the moment student pilots discover they are becoming real pilots.
At Savannah Aviation, our experienced flight instructors prepare every student thoroughly for this milestone, because a solo cross-country is not something you stumble into — it is something you earn through disciplined preparation. Call (912) 964-1022 to schedule your introductory lesson and start building the skills that will carry you confidently through every phase of flight training.
Many student pilots feel a mixture of excitement and anxiety as the solo cross-country approaches. That reaction is completely normal. What separates a safe, successful flight from a stressful one is thorough preparation on the ground before you ever touch the throttle. This guide walks you through every critical element of planning and executing your first solo cross-country flight — from selecting your route to shutting down the engine back at your home airport.
Before you can fly a solo cross-country, you must meet several regulatory requirements spelled out in FAR 61.93. Understanding these rules is not just a matter of compliance — it helps you recognize exactly what your instructor is preparing you for during dual cross-country training flights.
Your instructor must provide a specific endorsement authorizing you to fly a solo cross-country to a specific destination or within a defined area. This endorsement is only issued after your instructor has reviewed your planning with you and is satisfied that you are ready. To reach that point, you must already have a solo flight endorsement, have demonstrated proficiency in the maneuvers required for the practical test, and have received dual instruction in cross-country flying that includes at least one flight to a destination more than 50 nautical miles away from the point of departure.
A cross-country flight for FAA purposes is defined as a flight that includes a point of landing more than 50 nautical miles from the original point of departure. Your solo cross-country will need to meet this definition to count toward the aeronautical experience requirements for a private pilot certificate.
Thorough route planning is the single most important thing you can do before your solo cross-country flight. Do not treat this step as a formality. Your plan is your safety net when things do not go exactly as expected in the air.
Work with your instructor to choose an appropriate destination airport. For a first solo cross-country, you want a destination that is far enough to meet the 50-nautical-mile requirement but not so complex that it overwhelms a student pilot flying alone for the first time. A towered airport with a straightforward approach environment and good fuel availability is often ideal.
Once your destination is set, identify a series of visual checkpoints along your route — prominent landmarks such as highways, rivers, lakes, towns, or power line corridors that you can use to confirm your position as you fly. Space your checkpoints no more than 10 to 15 nautical miles apart so that you are constantly confirming your position rather than waiting until you are lost before you look at the chart.
Using your sectional chart and a flight planning tool or E6B flight computer, calculate the true course for each leg of your route. Then obtain the forecast winds aloft at your planned cruising altitude and compute your wind correction angle and true heading. This step is what separates a pilot who arrives on time from one who is puzzled about why the destination is not appearing on schedule.
Calculate your estimated time en route for each leg and your total fuel burn. Always plan for more fuel than you expect to need. FAR 91.151 requires that VFR flights during daylight hours carry enough fuel to reach the first intended landing point plus 30 minutes of reserve at normal cruising speed. Carrying more than the legal minimum is always the right decision for a student pilot on a solo flight.
Weather is the variable that can turn a well-planned solo cross-country into a dangerous situation in a matter of minutes. On a solo cross-country, you do not have an instructor beside you to help you evaluate deteriorating conditions or navigate around a developing storm. Your weather decision must be conservative, correct, and made on the ground — not in the air.
Obtain a standard weather briefing from the Automated Flight Service Station (AFSS) via 1800wxbrief.com or by phone at 1-800-WX-BRIEF. Do not rely solely on a smartphone app. A standard briefing gives you adverse conditions, a synopsis, current conditions at departure and destination airports, en route forecast weather, winds aloft, NOTAMs, and any applicable AIRMETs or SIGMETs. Review all of it carefully.
For VFR flight, you need to remain well clear of clouds and maintain the visibility minimums required for your airspace. As a student pilot on a solo cross-country, your instructor may set personal minimums more conservative than the FAA legal minimums — follow those guidance numbers without question. If the weather is marginal, the flight does not go. There is always another day.
Before you brief the weather, decide on your personal minimums in advance. Common personal minimums for a student pilot's first solo cross-country include a ceiling of at least 3,000 feet AGL, visibility of at least 5 statute miles, and surface winds no greater than 15 knots with a crosswind component below what you have comfortably demonstrated. Write these numbers down. Having them in front of you prevents the subtle pressure of wanting to fly from distorting your judgment when the conditions are borderline.
With your plan complete, your weather checked, and your instructor's endorsement in hand, it is time to fly. A calm, methodical execution of the flight is the goal — not speed, not impressiveness. Just safe, structured flying.
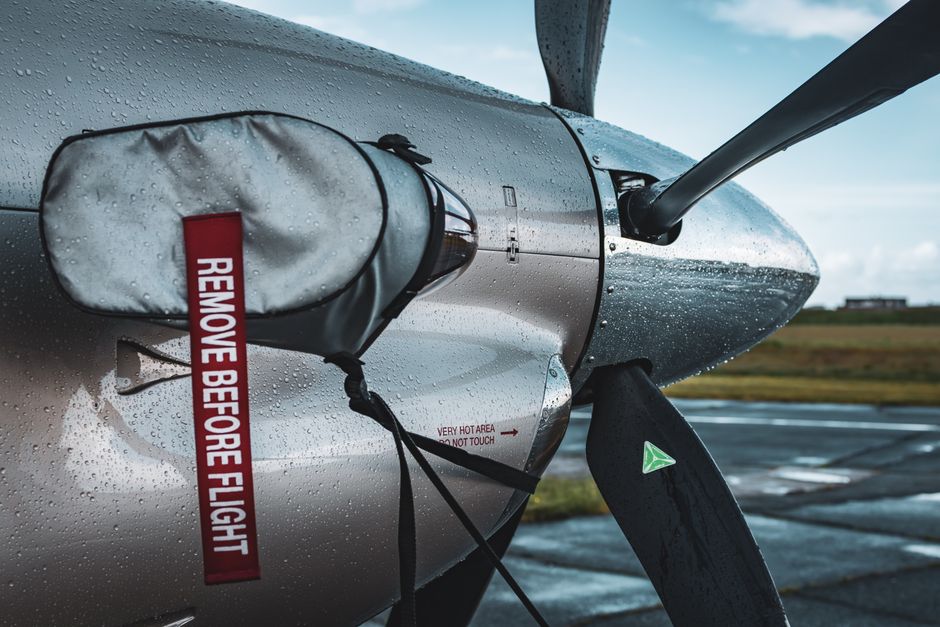
Complete your preflight inspection with the same thoroughness you use on every single flight. Run through your checklists for engine start, runup, and departure. After takeoff, begin your timer and track your first checkpoint. Identify your first landmark, confirm it matches your chart, and note the time. Write it down on your knee board. Compare your actual time to your estimated time — this tells you immediately whether your groundspeed matches your plan or whether wind is affecting you differently than forecast.
If you identify a discrepancy, correct your heading and recalculate your estimated times for subsequent checkpoints. This kind of active in-flight navigation is exactly what dual cross-country training prepares you for. Trust your training and trust your plan.
As you approach your destination, pull up the ATIS information early — typically 10 to 15 miles out — so you know the active runway and current conditions. If it is a towered airport, make initial contact well before entering the Class D airspace. Announce who you are, where you are, your altitude, and that you have the ATIS information. Controllers are accustomed to student pilots and will work with you.
Execute your approach and landing with the same discipline you use at your home airport. There is no need to rush or show off. A stable, properly configured approach flown at the correct speed is always the right approach. After landing, get fuel if required, complete your logbook entry, and prepare for the return leg with another quick weather check before departure.
The return leg of a solo cross-country can sometimes catch student pilots off guard — flying in the opposite direction means your visual checkpoints look different, and the sun angle may have changed significantly. Prepare for the return leg the same way you planned the outbound leg: confirmed headings, estimated times, checkpoint identification, and a current weather picture.
When you land back at your home airport, take a few minutes to write a thorough entry in your logbook and debrief with your instructor. Note what went exactly as planned, what surprised you, and what you would do differently. That debrief is where much of the real learning happens — and it prepares you for the solo cross-country flights still ahead on the path to your private pilot certificate.
Your first solo cross-country flight is a building block, not a final exam. Each subsequent cross-country you fly will add to your navigational confidence, your weather judgment, and your ability to manage an entire flight independently from start to finish. These are exactly the competencies that define a safe, capable private pilot.
At Savannah Aviation, we structure our flight training program to give you progressive cross-country experience with increasing complexity and independence so that by the time you reach your checkride, solo navigation feels completely natural. Call (912) 964-1022 today to schedule your first lesson and start the journey toward becoming the confident, prepared pilot you are meant to be.
Request a personalized discovery flight and experience how professional instruction and careful preparation make learning to fly exciting and rewarding. Our team guides every step to help you build skills safely and confidently.
.webp)





.webp)