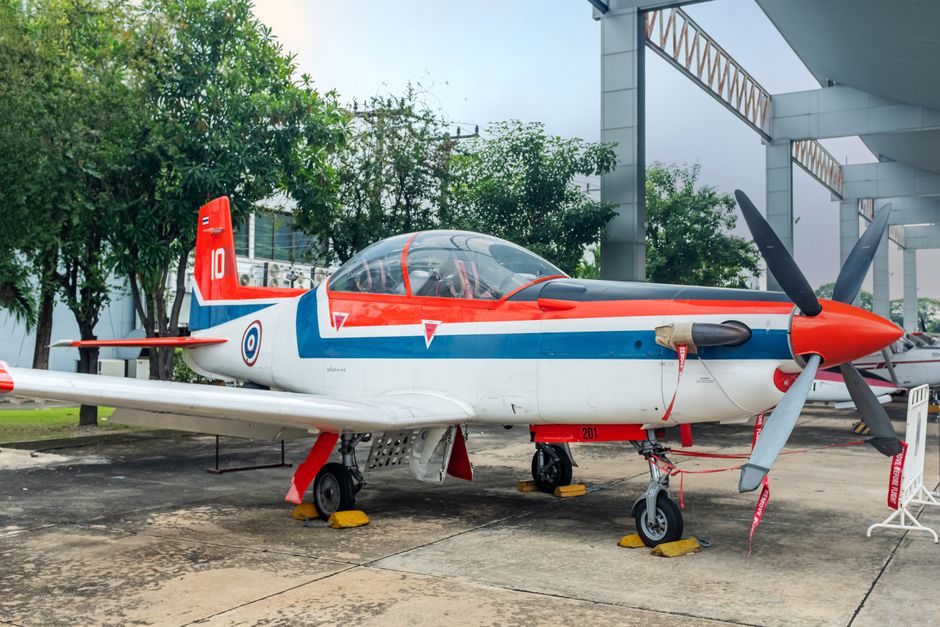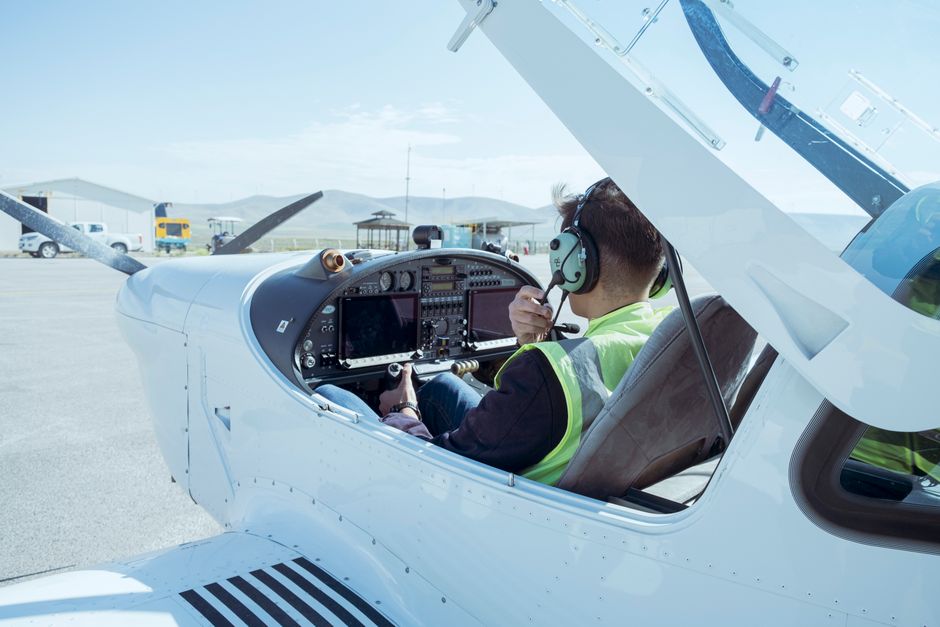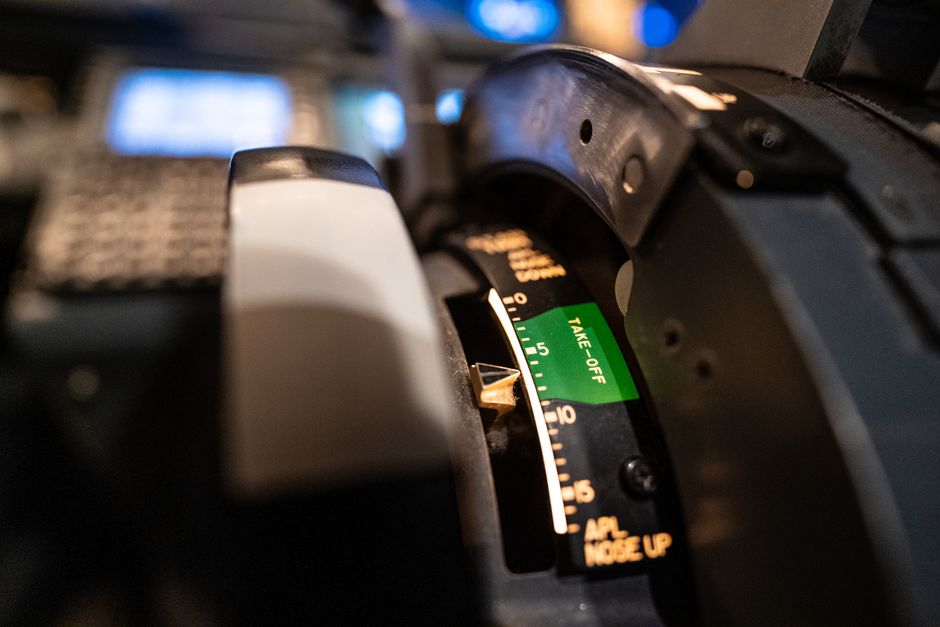
The preflight inspection is the single most important habit a student pilot will build during flight training. Before every flight — your very first lesson or your five-hundredth hour — a methodical, disciplined walkaround of your aircraft is non-negotiable. Skipping or rushing a preflight inspection is one of the most common contributing factors in general aviation accidents that were entirely preventable.
At Savannah Aviation, our experienced flight instructors teach preflight discipline from day one, because the habits you build on the ground define the pilot you become in the air. Call (912) 964-1022 to schedule your introductory lesson and learn to fly with the thoroughness and confidence that separates safe pilots from complacent ones.
Many student pilots initially treat the preflight as a formality — a box to check before the real flying begins. That mindset is dangerous. The preflight inspection is the moment you take personal responsibility for the airworthiness of your aircraft. No mechanic, dispatcher, or instructor can substitute for your own eyes, hands, and judgment during that walkaround. This guide walks you through every phase of a thorough preflight, explains what you are looking for at each step, and helps you understand why each check genuinely matters to flight safety.
Under FAR 91.7, the pilot in command is directly responsible for determining that the aircraft is in airworthy condition before every flight. This is not a suggestion — it is a legal obligation. But beyond the regulatory requirement, the preflight inspection is your opportunity to catch problems while you are standing safely on the ground, rather than discovering them at altitude where your options are significantly more limited.
General aviation history contains countless examples of accidents traced back to undetected fuel contamination, control surface damage, improperly secured oil caps, or low tire pressure — all conditions that a careful preflight would have caught. The preflight inspection is your personal quality control check on a machine that will shortly carry you into the sky.
Every aircraft model has a published Pilot's Operating Handbook that includes a manufacturer-specific preflight checklist. Always use the actual POH checklist for the specific aircraft you are flying — not a generic list from memory, not a checklist from a different aircraft type. While most training aircraft share common inspection items, the specific quantities, tolerances, and locations can vary meaningfully between models. Your instructor will show you where the POH is kept in the aircraft and how to reference it correctly.
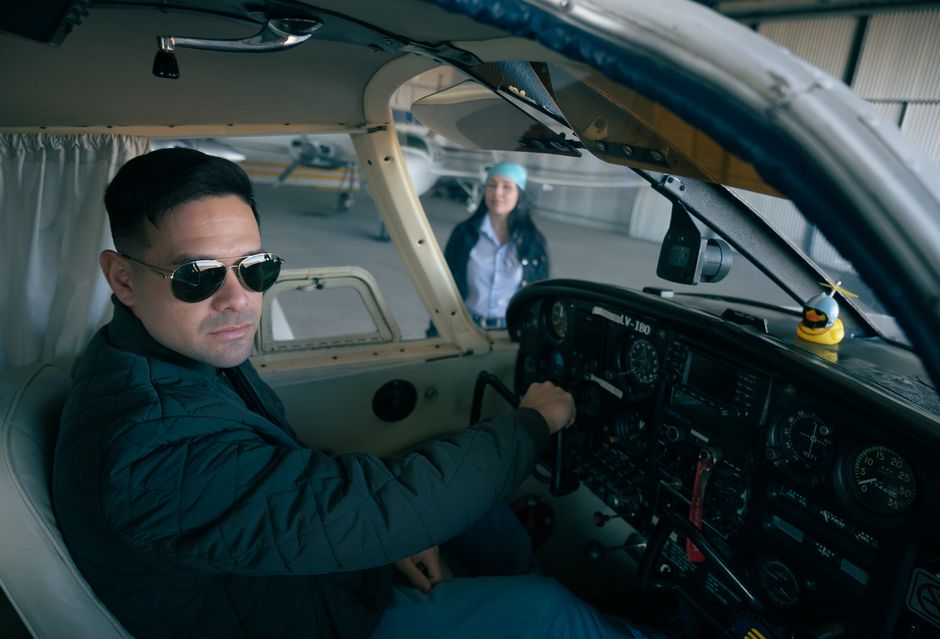
Before you ever step outside to walk around the aircraft, begin your preflight inside the cockpit. This phase covers two critical areas: required aircraft documentation and initial control checks.
The FAA requires specific documents to be on board and current for every flight. Student pilots learn these using the memory aid AROW:
Verify that all four documents are present, legible, and not expired before proceeding. An aircraft missing any of these documents is not legally airworthy regardless of its mechanical condition.
Once documentation is confirmed, check that the master switch is off, the ignition is off, and the fuel selector is in the correct position. Confirm control inputs move freely and that nothing is obstructing the rudder pedals, yoke, or throttle quadrant. Note the fuel gauges for a rough initial reading — you will verify actual fuel quantities visually during the exterior walkaround.
The exterior preflight is the heart of your inspection. Most training programs teach a systematic walkaround that proceeds in a consistent direction — typically starting at the cockpit door and moving clockwise around the aircraft. Consistency matters because a routine path ensures nothing gets skipped, regardless of distractions or fatigue.
Begin by examining the fuselage skin for any visible damage, dents, or cracks. Move to the tail section and inspect the horizontal stabilizer, elevator, and elevator trim tab for security and freedom of movement. Check the vertical stabilizer and rudder, confirming that all hinge points are intact and that control surfaces are not bent or delaminated. Look for any bird nests, wasp nests, or foreign object debris that may have found its way into control surface gaps or the empennage structure during overnight parking.
The wing inspection is one of the most detail-intensive parts of the walkaround. Work from the trailing edge forward on each wing, checking for:
Inspect each main gear tire for proper inflation, visible wear, cuts, or cracks in the sidewall. Check the brake assemblies for signs of hydraulic fluid leaks or worn brake pads. On the nose gear, check the strut for proper extension — a fully compressed nose strut may indicate a hydraulic issue. Also confirm the nose wheel steering linkage is intact and that no ground equipment or chocks remain in place under the aircraft.
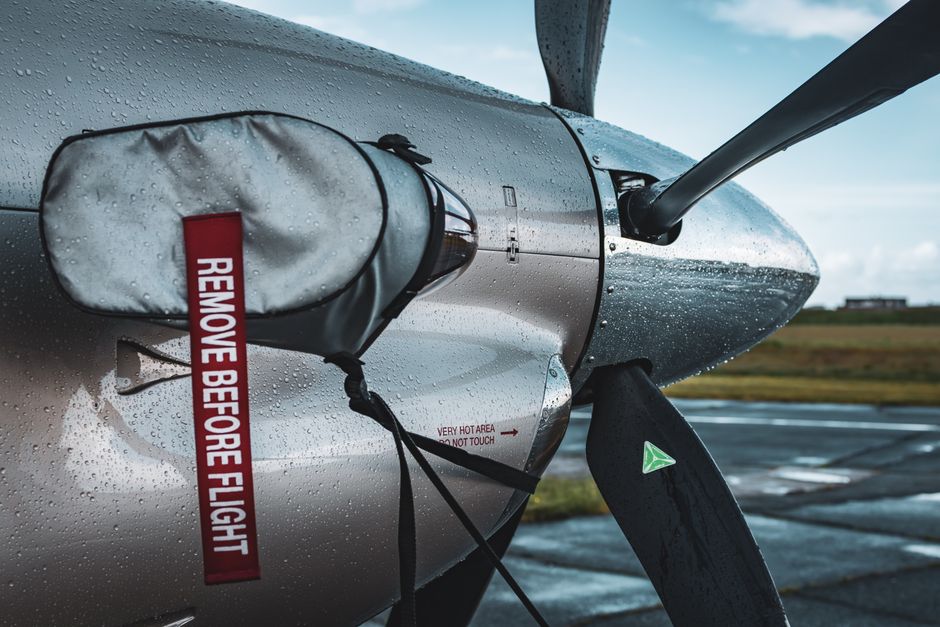
The propeller inspection deserves careful attention. Run your fingertips along the full leading edge of each blade, feeling for nicks, gouges, or cracks that may not be immediately visible to the eye alone. Even a small nick on a propeller can propagate into a structural failure under the vibration loads of engine operation — any damage beyond very minor surface scratches should be evaluated by a certificated mechanic before flight.
Open the engine cowling and check the following:
Even conscientious student pilots fall into predictable preflight traps. Being aware of them helps you avoid them from the beginning of your training.
Time pressure is the enemy of a good preflight. Whether you are running late for a lesson, eager to get airborne on a beautiful day, or distracted by conversation, rushing produces missed items. Build a personal policy: the preflight takes as long as it takes, and you will not be hurried through it by anyone or anything.
Looking at something is not the same as inspecting it. A bolt that appears secure from two feet away may be loose when you physically test it. Flight instructors universally teach students to touch, push, pull, and wiggle control surfaces, fuel caps, and access panels as part of the inspection — not merely glance at them.
Water contamination in aviation fuel is more common than many student pilots expect, particularly after rain, temperature changes that cause condensation in partially-filled tanks, or lapses in proper fuel handling at the airport. Sampling the fuel at every sump point before every flight is an essential, non-optional step.
You cannot identify an abnormality if you do not know what the aircraft looks like in normal condition. As you accumulate preflight experience on your training aircraft, pay attention to what normal tire pressure, oil level, strut extension, and control surface movement feel and look like. This baseline knowledge makes deviations immediately obvious.
The most experienced airline captains and career aviators perform their preflight walkarounds with the same methodical attention they applied during their student pilot days. The preflight inspection never becomes a chore to be minimized — it remains the fundamental expression of a pilot's personal responsibility for safety.
At Savannah Aviation, we integrate preflight discipline into every phase of our flight training program, ensuring that students develop the habits, knowledge, and judgment that define safe, competent pilots. Whether you are preparing for your private pilot certificate or building toward advanced ratings, the skills you develop on the ground before every flight are inseparable from the skills you demonstrate in the air.
If you are ready to begin your aviation journey with a flight school that treats safety as a genuine core value — not a marketing phrase — call (912) 964-1022 or contact Savannah Aviation today to schedule your introductory flight lesson.
Request a personalized discovery flight and experience how professional instruction and careful preparation make learning to fly exciting and rewarding. Our team guides every step to help you build skills safely and confidently.
.webp)







.webp)